How to Install Google Nest Learning Thermostat Hardware
Tue, Dec 14, 2021My quick notes on installing a Google Nest Learning thermostat.
1. Remove the Offending Unit
I did this by prying a flathead screwdriver into the tabs either above or below the thermostat.
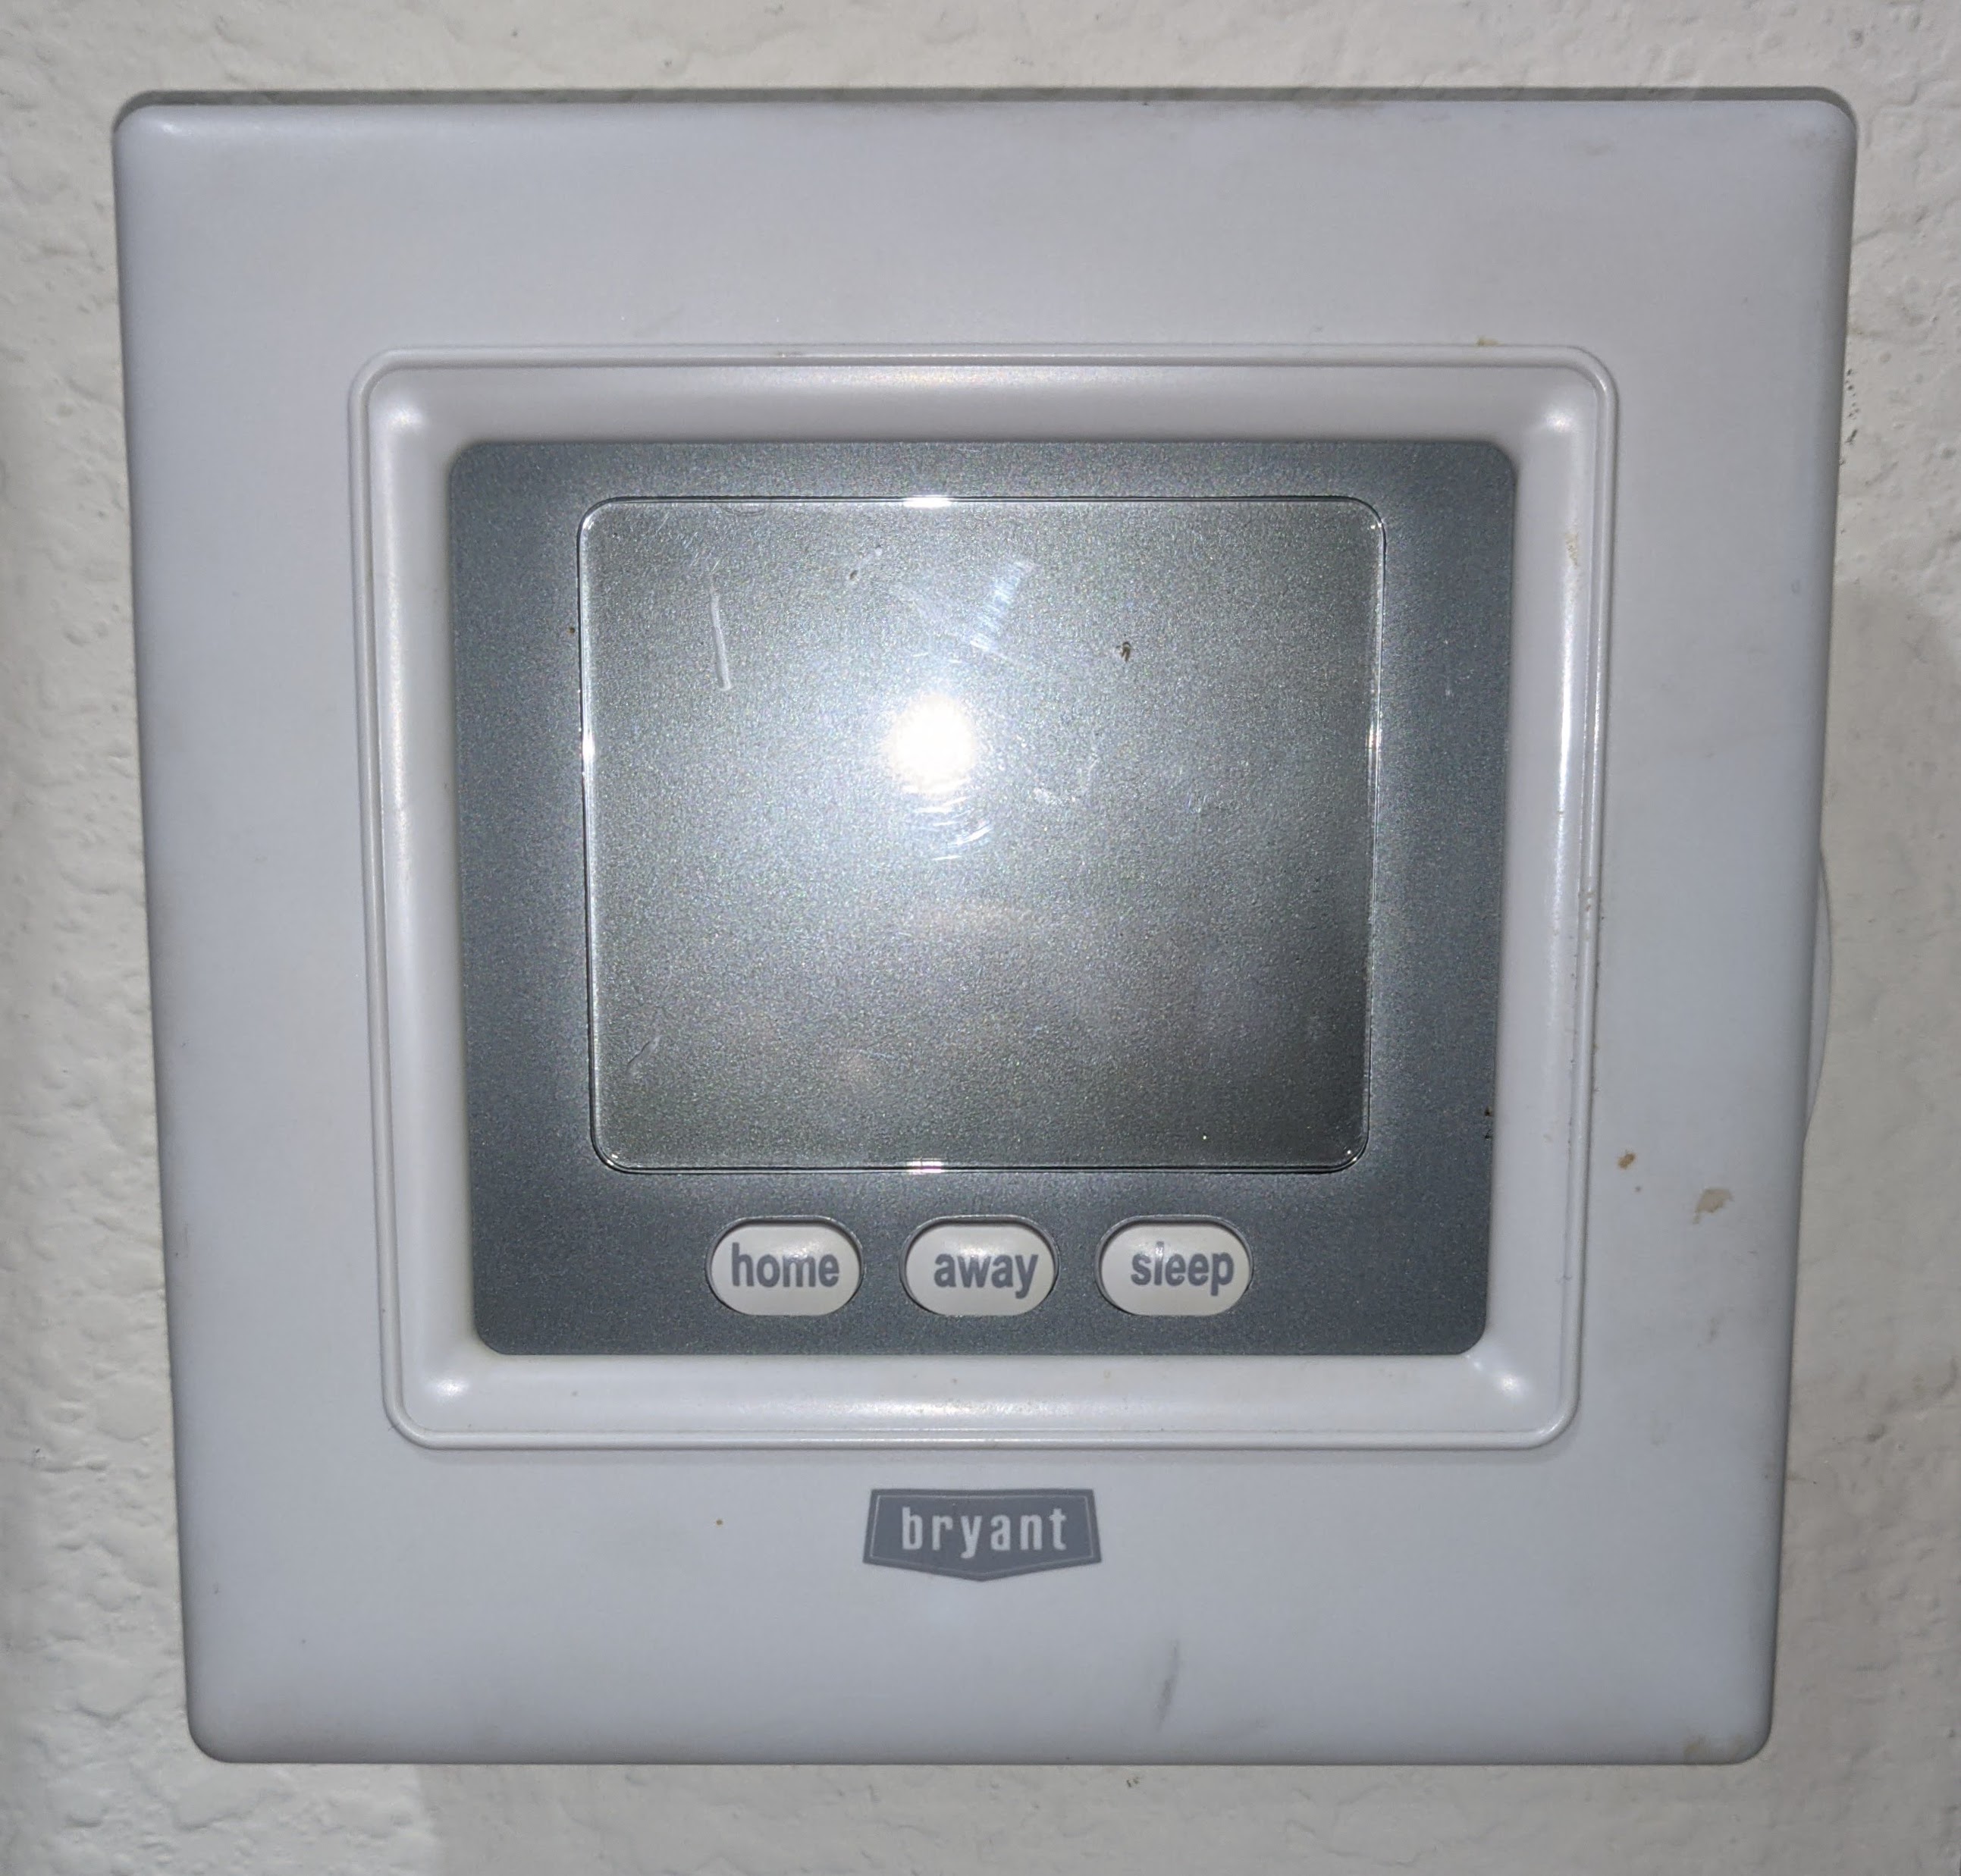
2004 Bryant Thermostat
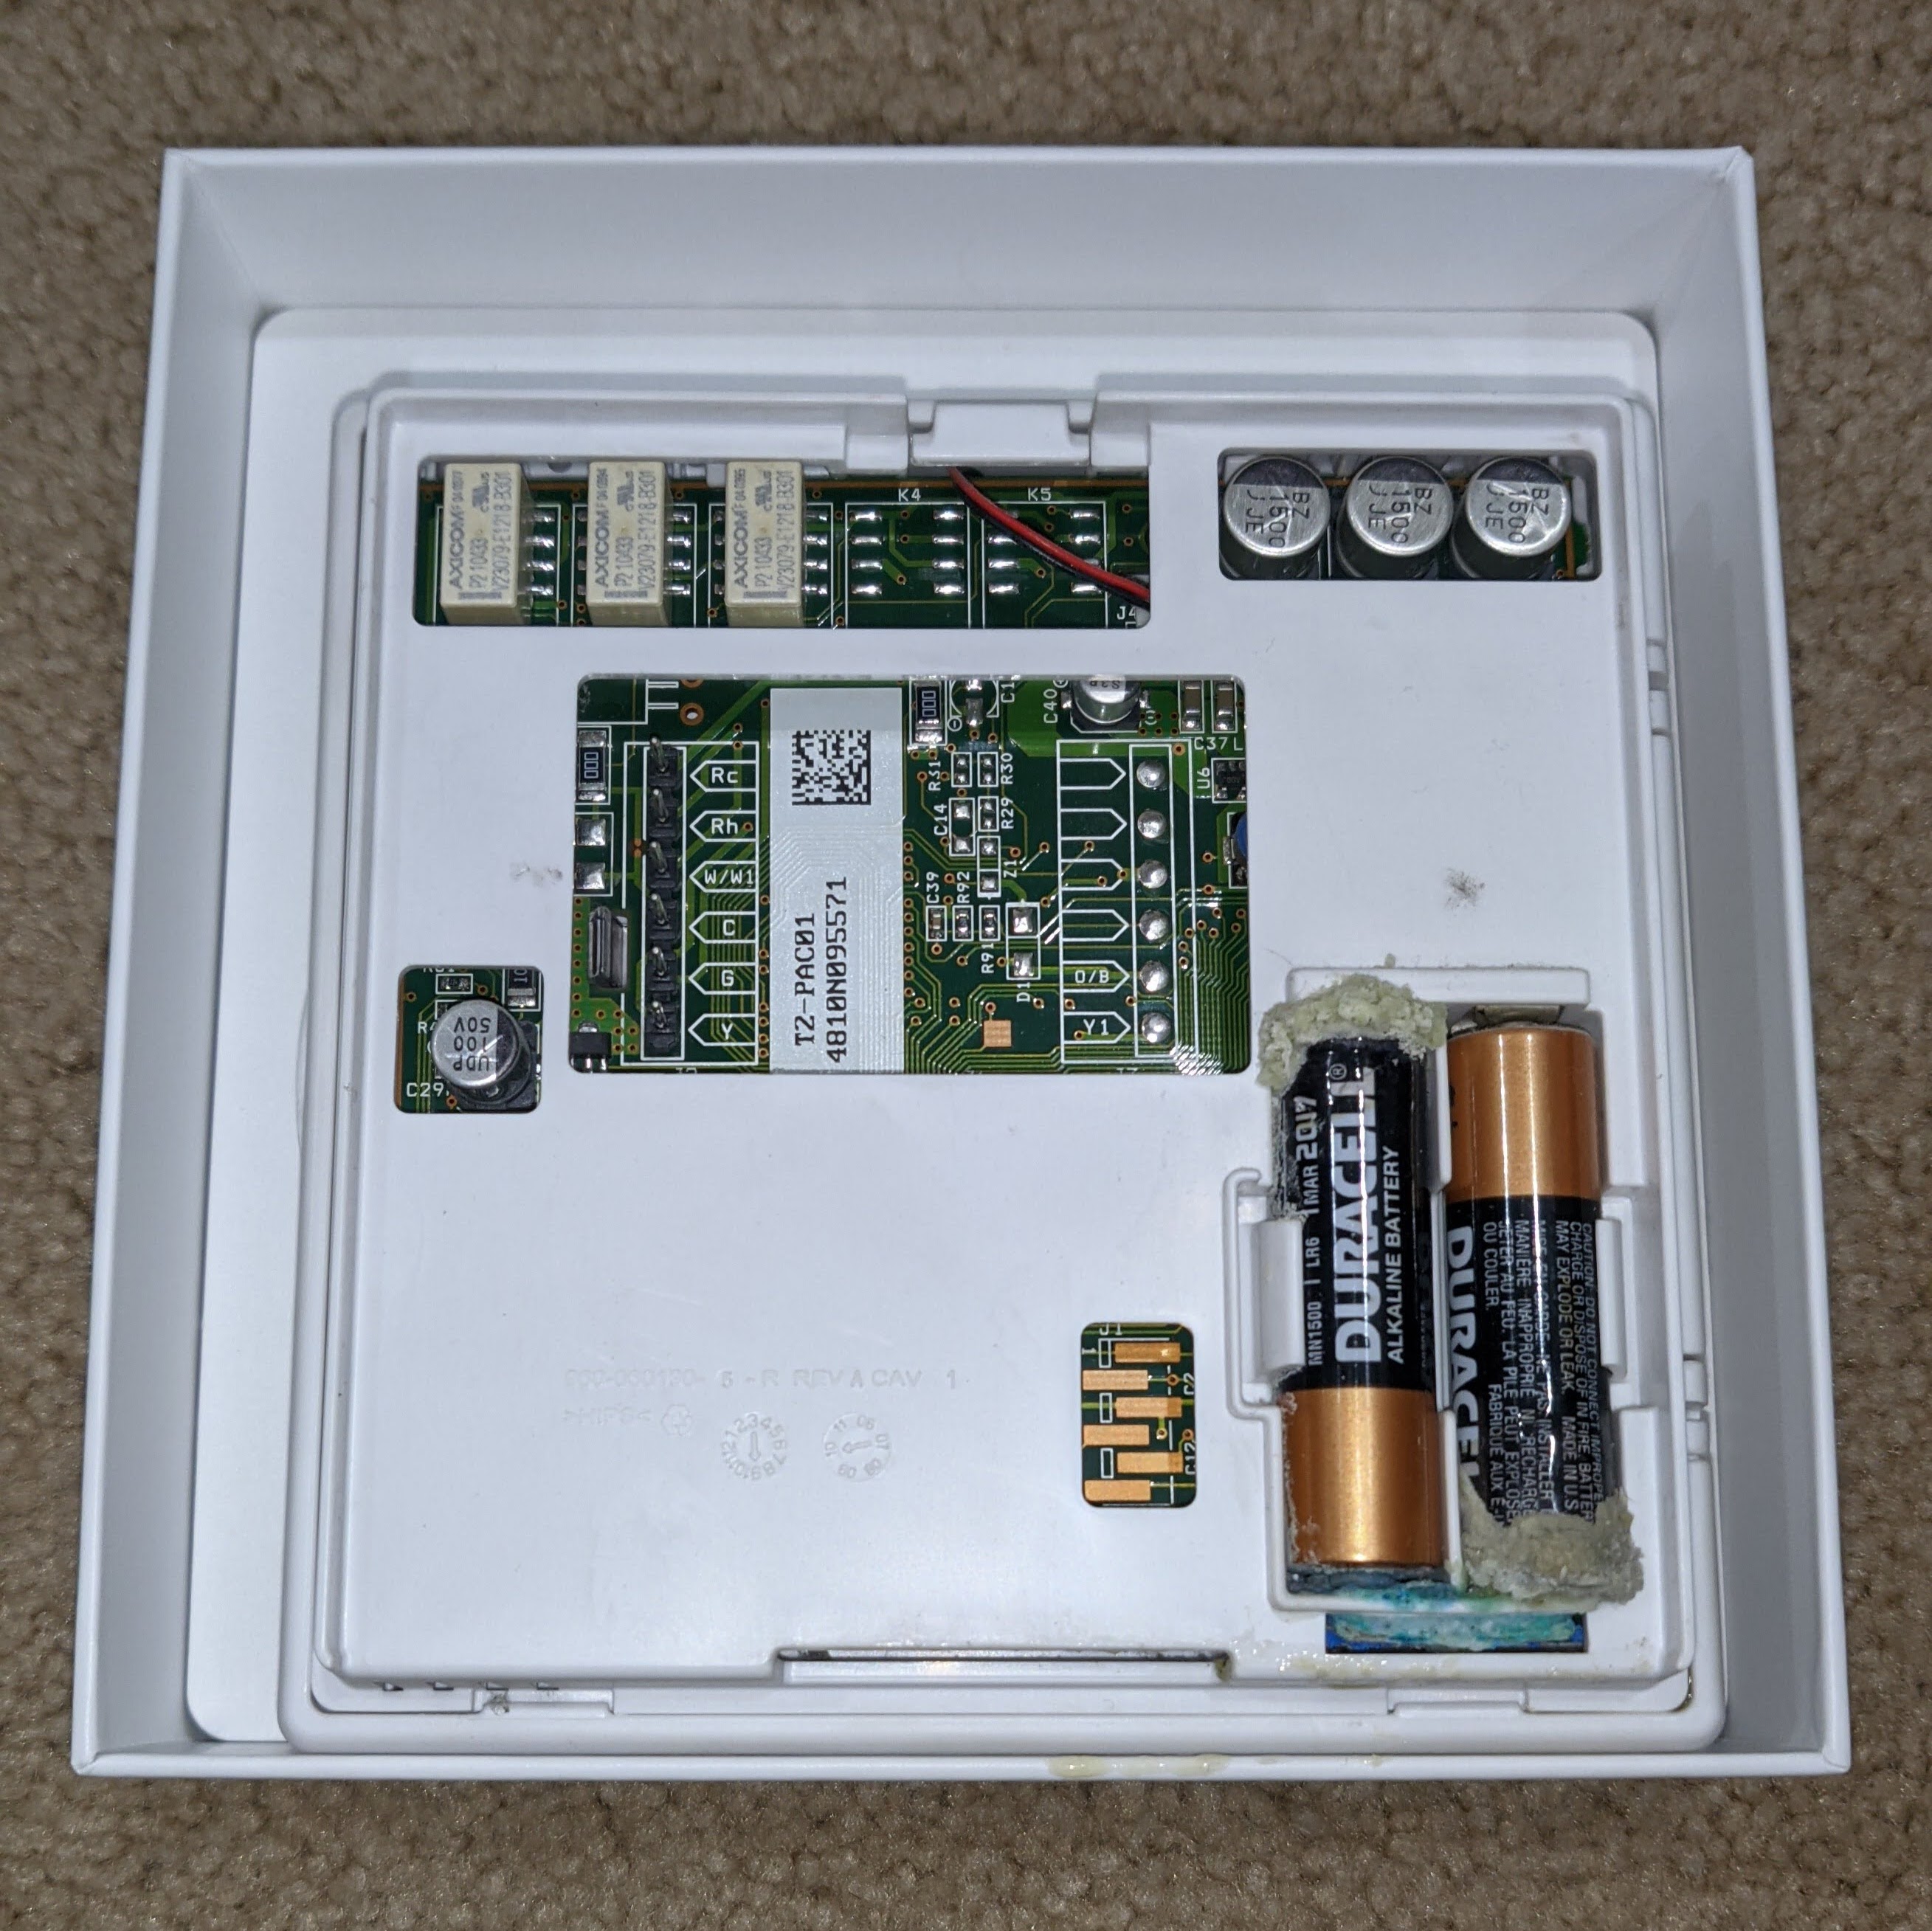
Delicious Potassium Hydroxide
2. Label and Remove Wires
Using the provided stickers and screwdriver, label and remove all wires.
Then remove the existing thermostat’s backplate.
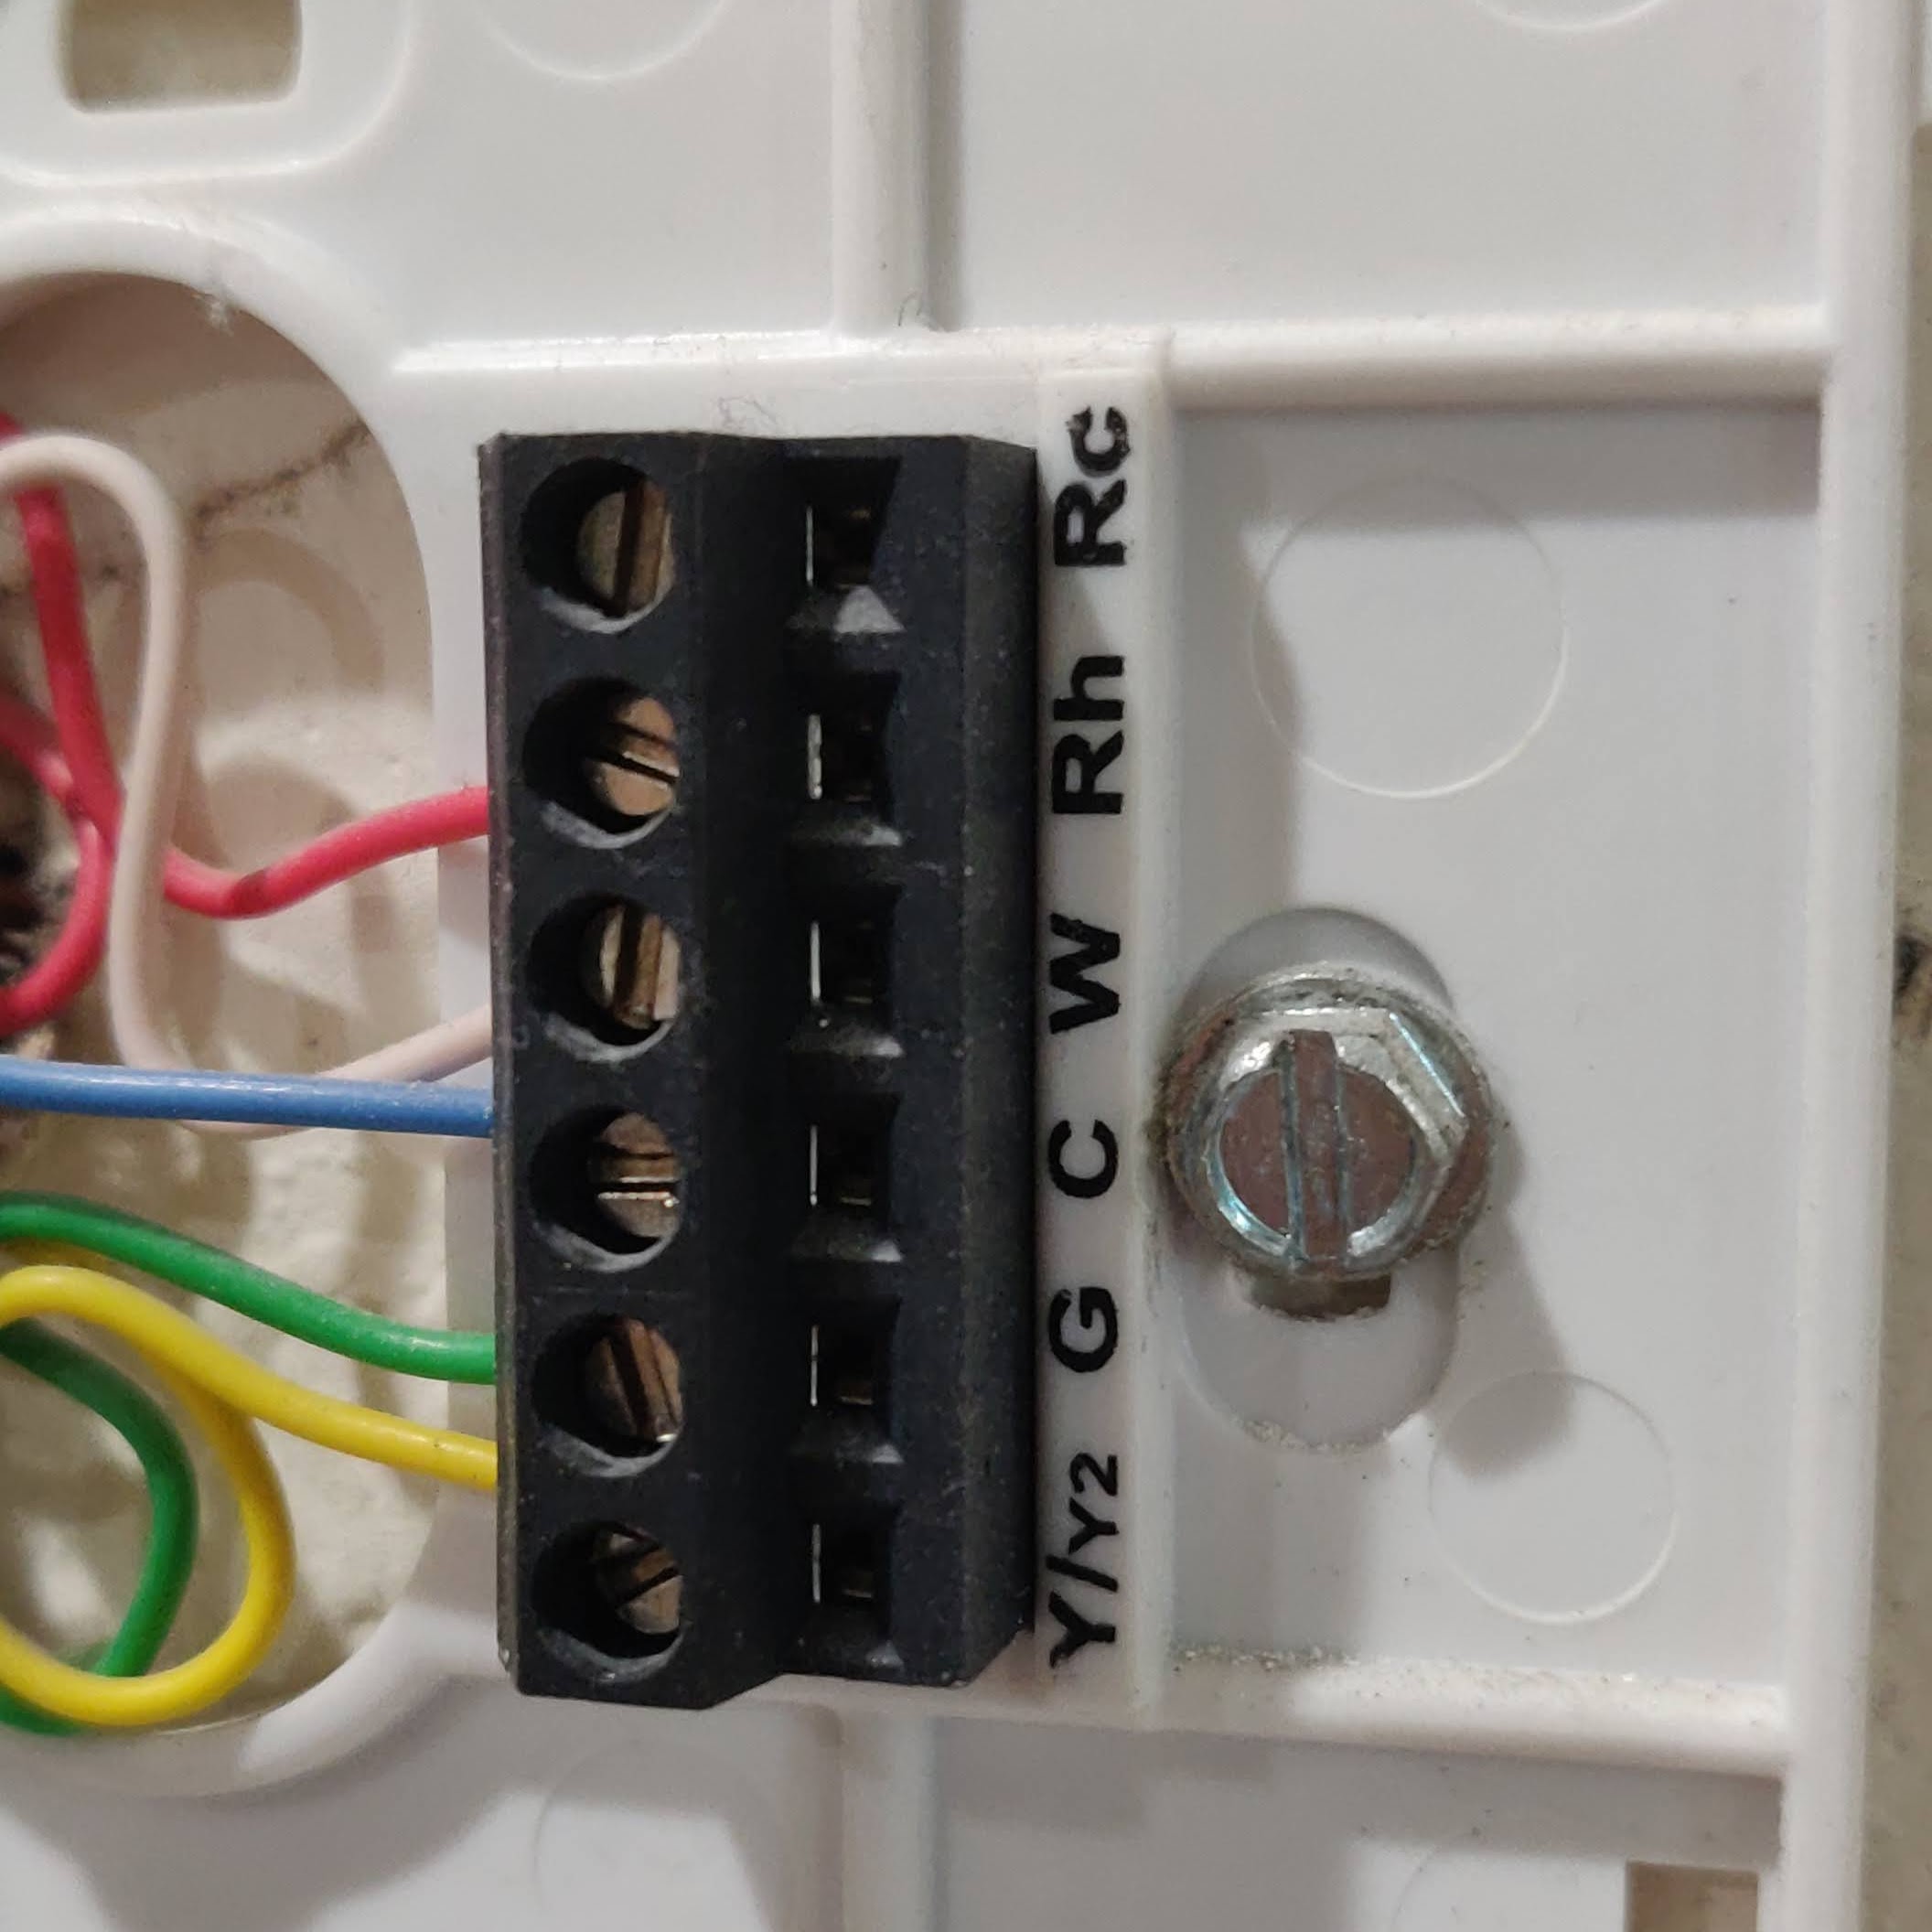
Thermostat Wiring
3. Install Nest Backplate and Wires
Hold the backplate at your desired positioning against the wall, and use a pencil to mark the screw holes.
Screw in the backplate, and insert wires into their appropriate slots.
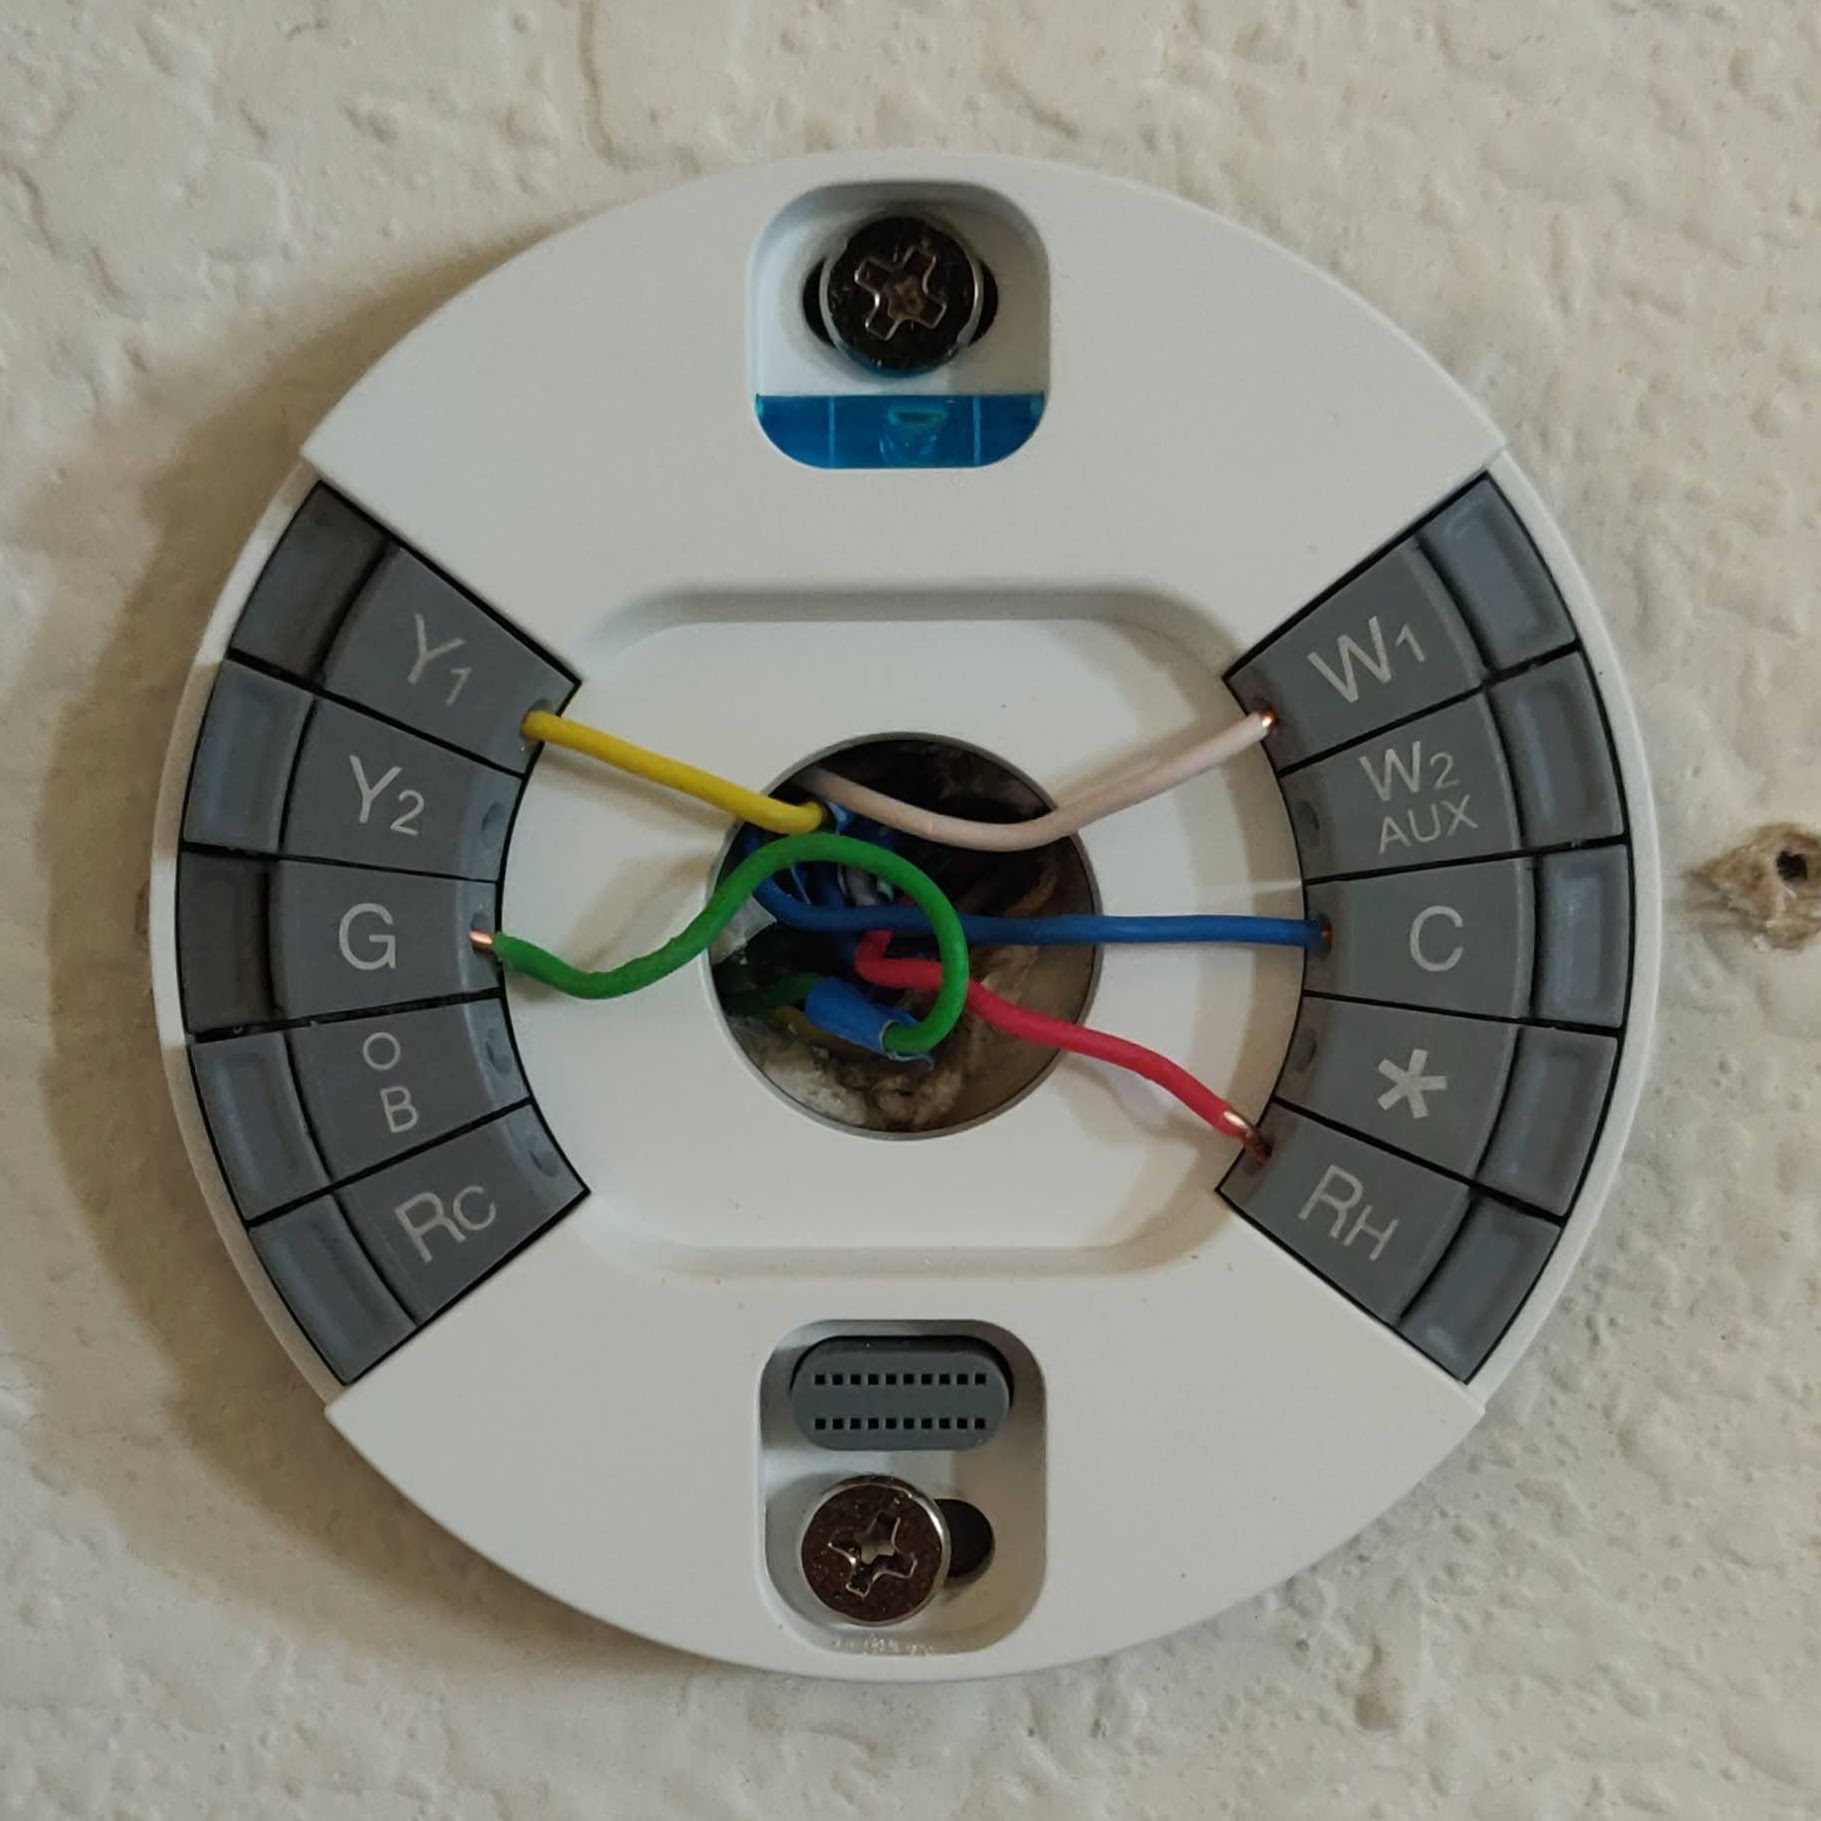
Backplate Installed
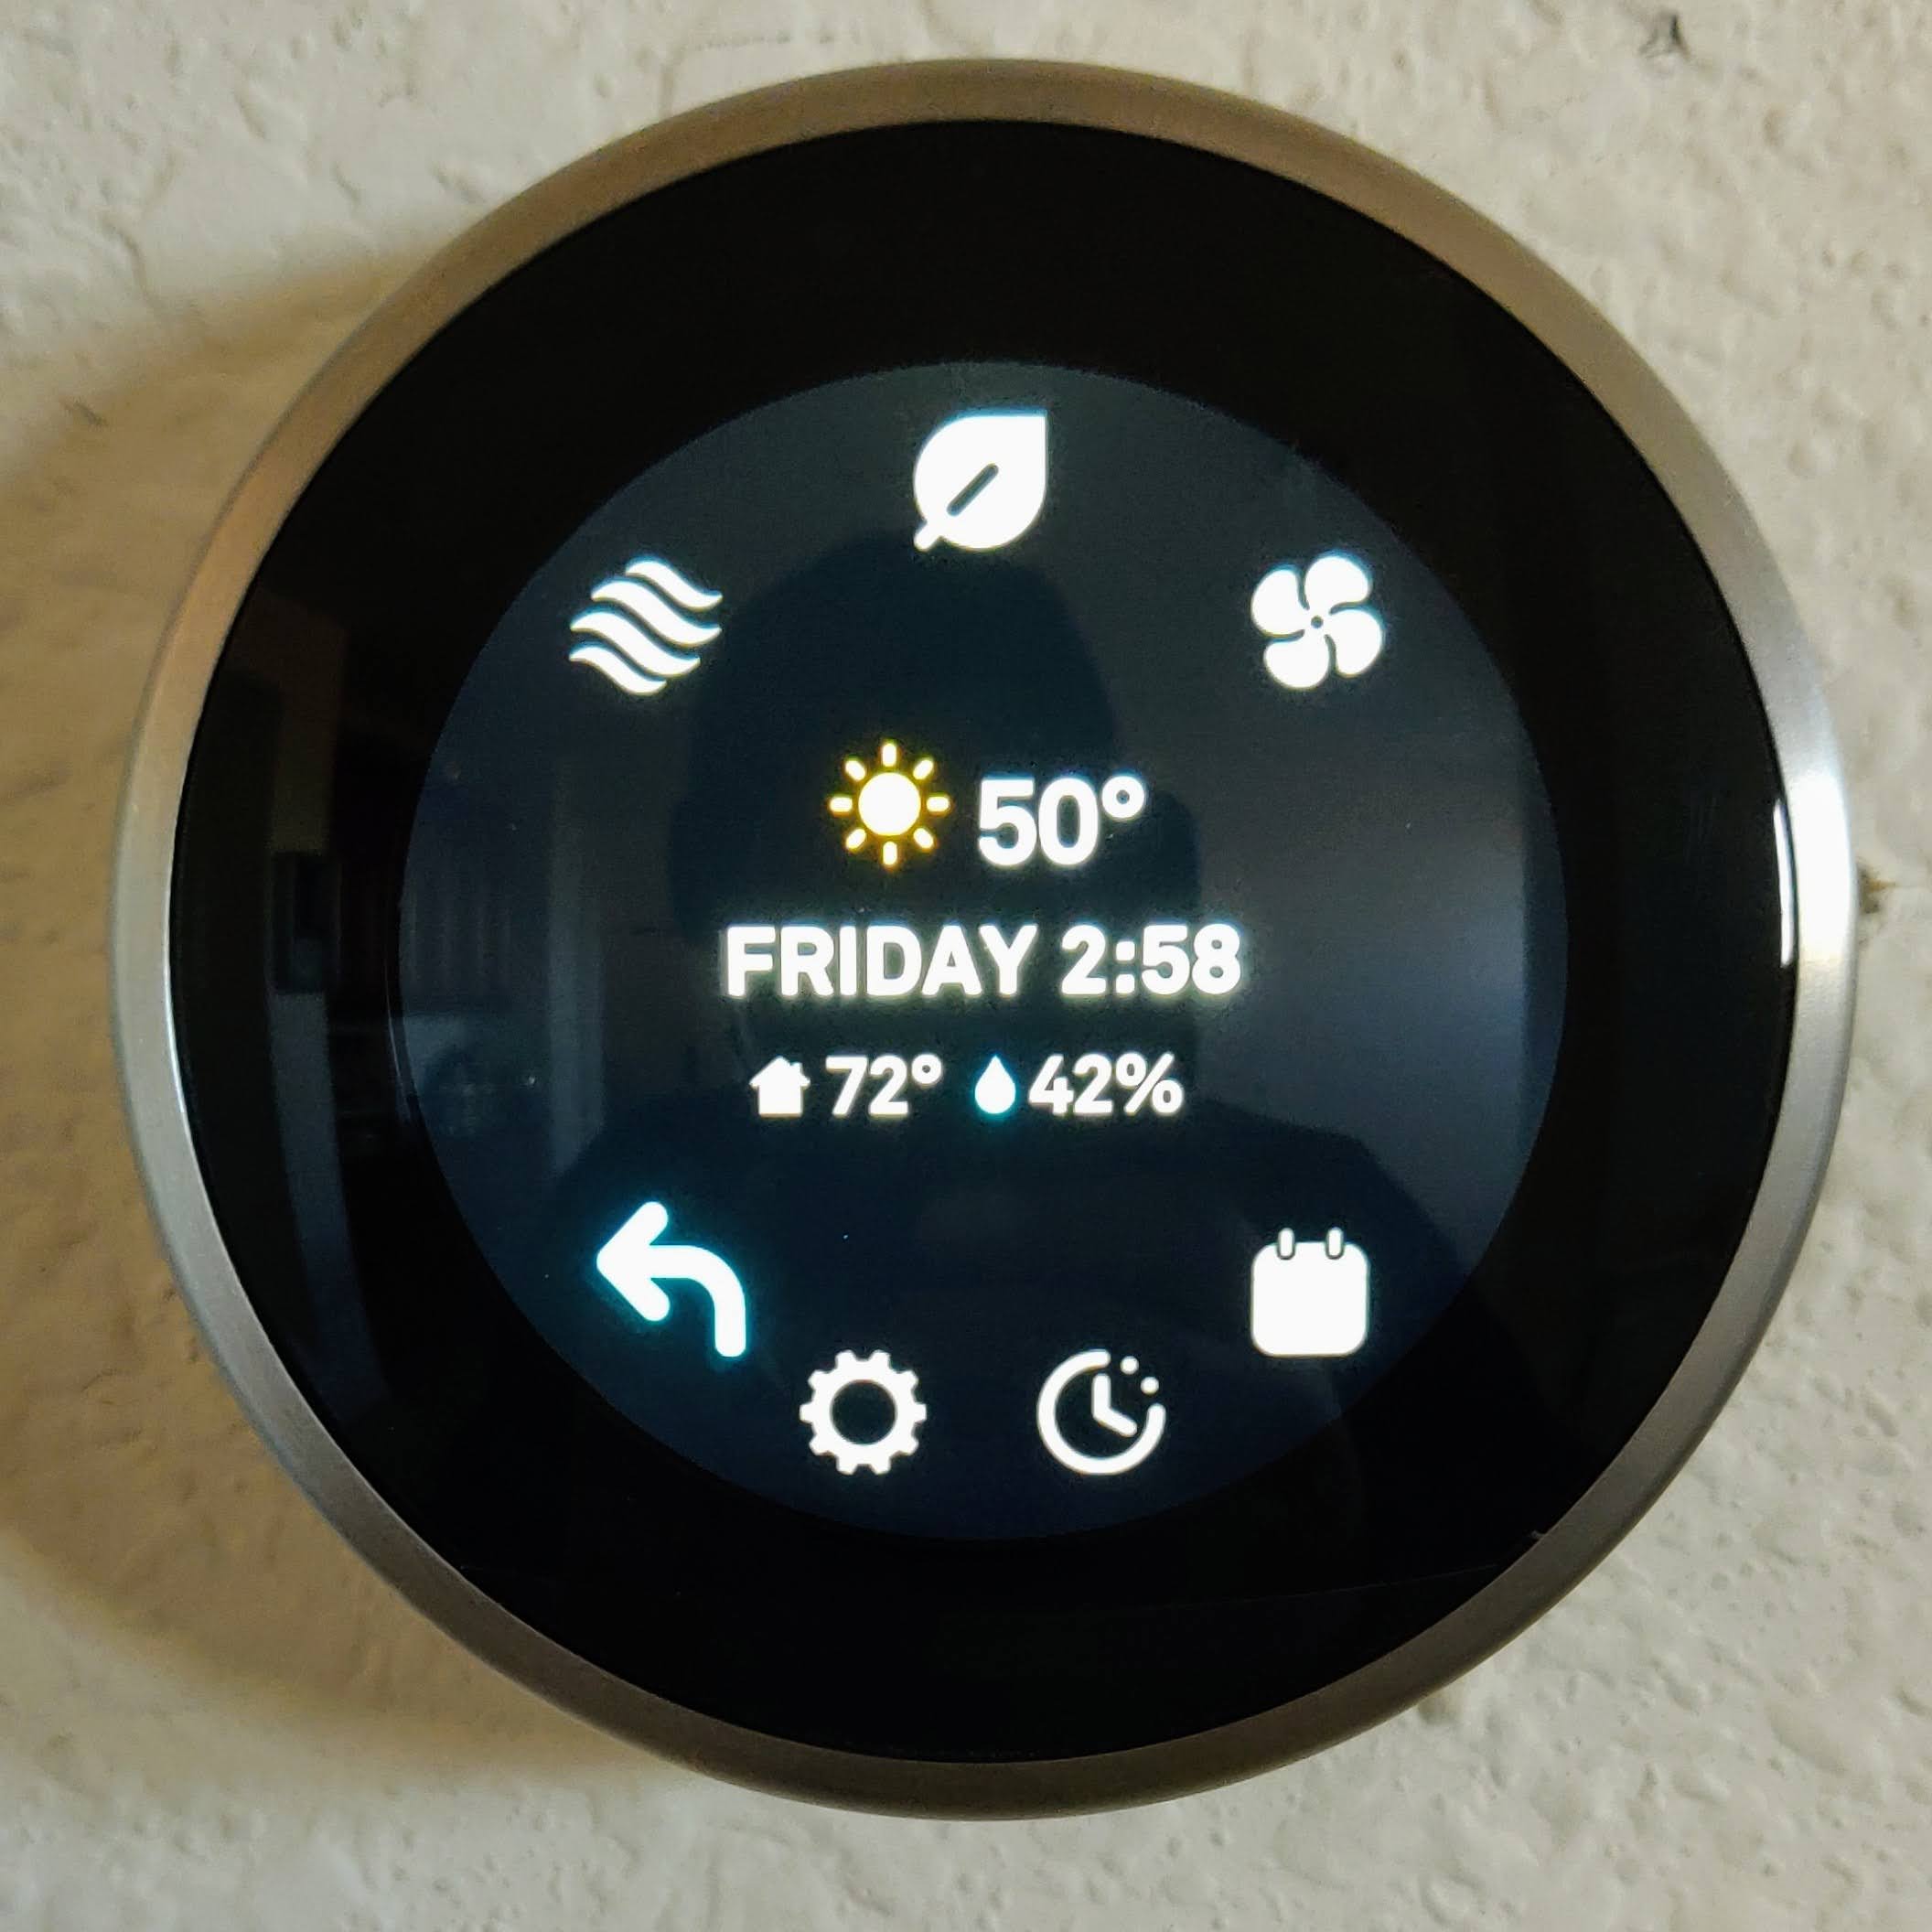
4. Plug in Nest Thermostat
First, open the Google Nest app on your phone, and scan the QR code on the back of your nest hardware. Then, install the Google Nest into the backplate, and follow the installation steps on the app.
Note: Upon initial install, all wires were detected, but heating was not working. Resetting the circuit breaker solved this.
Nest Thermostat Installed